Apple Pie — Classic, Flaky, and Perfectly Spiced
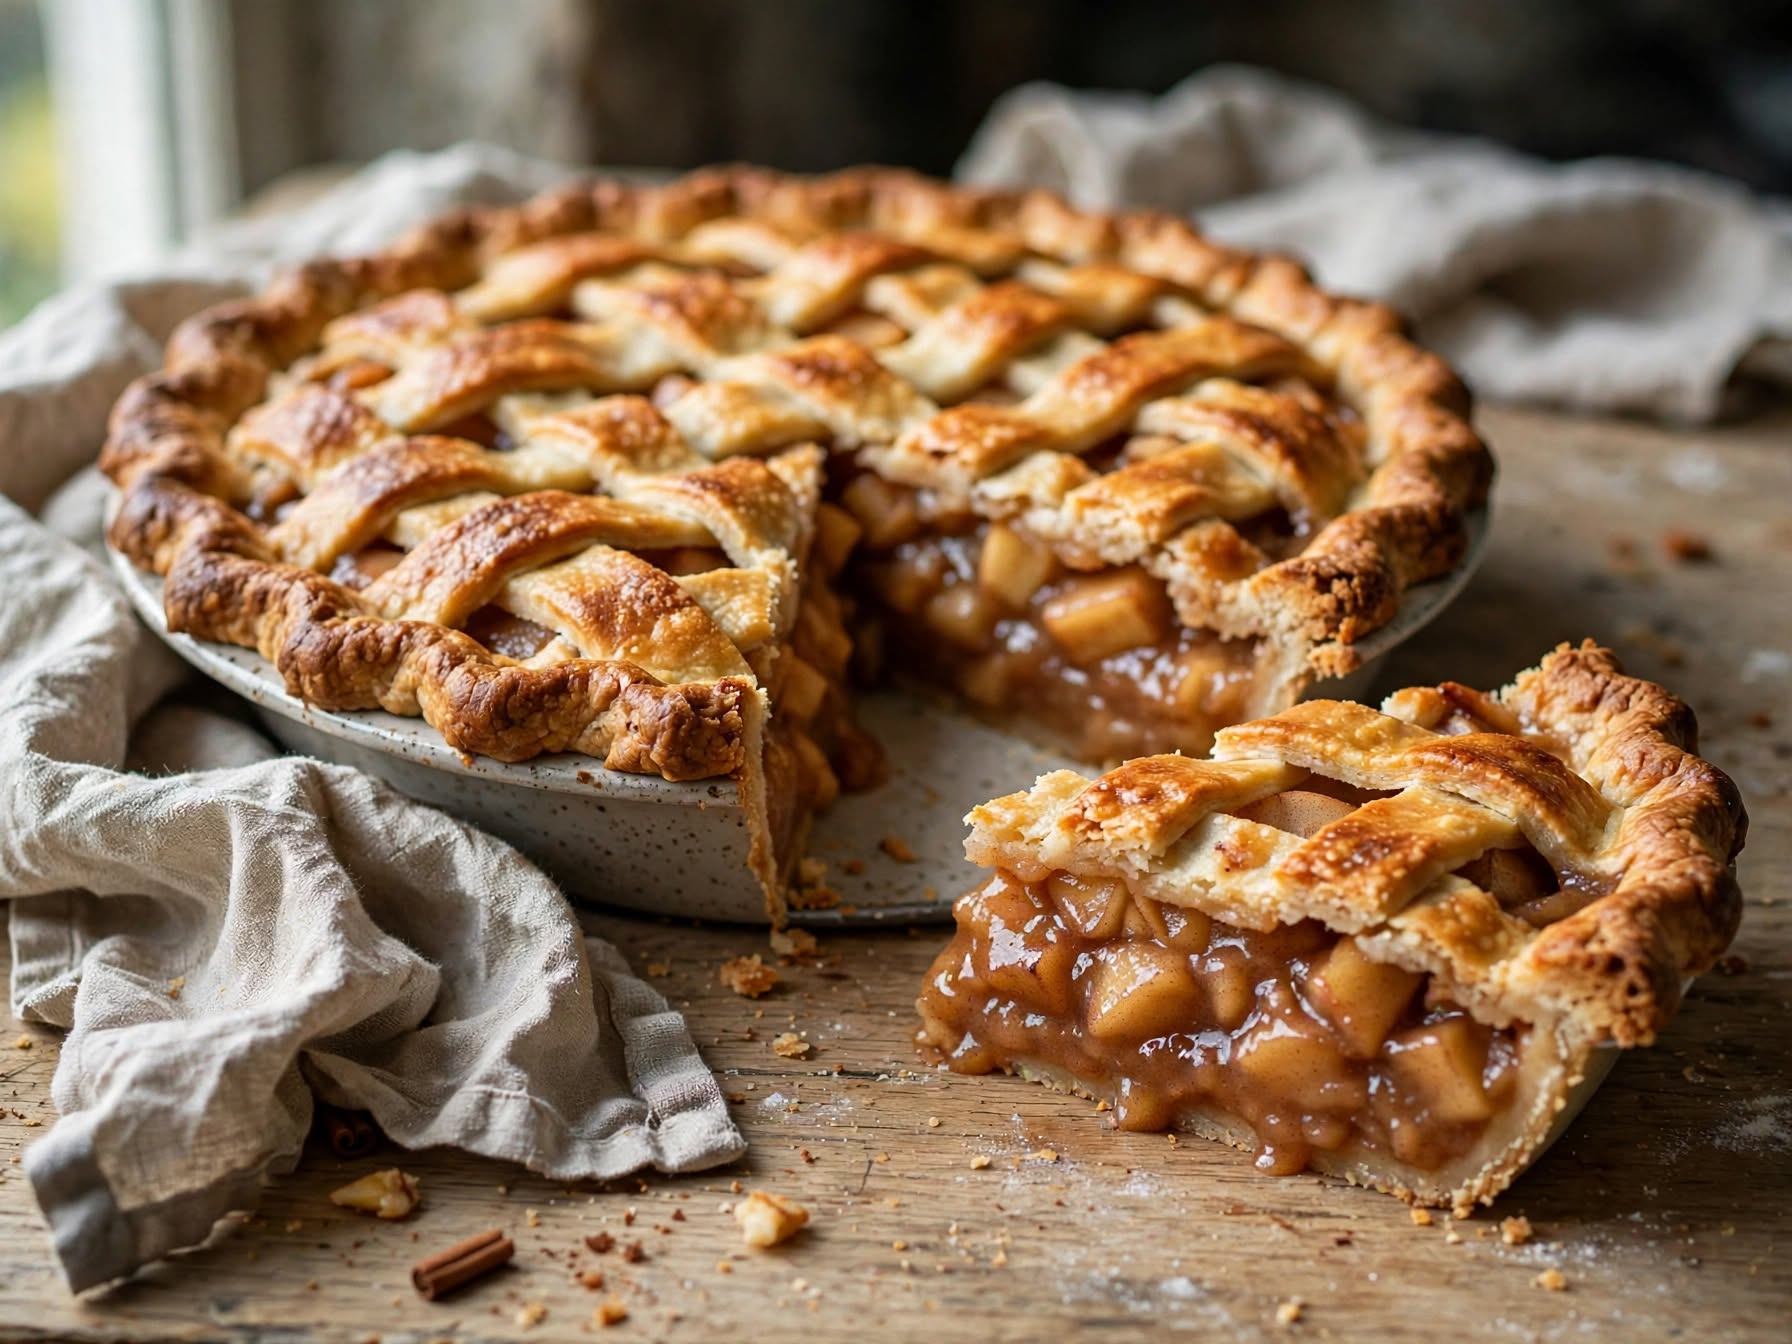
This apple pie is everything a classic should be: a flaky, golden double crust wrapped around tender, spiced apples in a filling that sets instead of running everywhere. You make a buttery crust, toss the apples with the right thickener and spices, and bake it to bubbling perfection. It’s the ultimate holiday and fall dessert, and with a few simple techniques, it slices clean every time — no soupy filling, no soggy bottom.
Recipe At a Glance
| Prep time | 40 minutes (plus chilling) |
| Cook time | 1 hour |
| Total time | About 4.5 hours (including cooling) |
| Servings | 8 |
| Difficulty | Moderate |
| Cuisine | American |
| Key method | Double-crust pie with a thickened, spiced apple filling |
Make and chill a butter crust, toss the apples with sugar, spice, and a thickener, fill and top the pie, and bake hot then lower. Cool completely so it sets.
In This Post
Why You’ll Love This Apple Pie
- Flaky, golden crust made with butter for the best flavor.
- Tender, spiced apples that hold their shape, not mush.
- A filling that sets and slices clean instead of running.
- Classic fall and holiday flavor everyone loves.
- Make-ahead friendly — the crust and whole pie can be prepped ahead.
- Freezer-friendly for baking fresh whenever you want.
What Makes This Apple Pie Different
The difference is in the details that prevent the two classic apple pie failures: a runny filling and a hollow gap under the top crust. This recipe uses a proper thickener and lets the apples release some liquid before baking, so the filling sets thick and the apples shrink before they go in — meaning no soupy slices and no big air pocket between the crust and the fruit. A hot-then-lower bake gives you a crisp bottom and a golden top.
Ingredients You’ll Need
Ingredient Notes
- Apples (about 2.5–3 lbs): The star. Use a mix of firm, tart, and sweet apples — Granny Smith for tartness and structure, plus Honeycrisp or Braeburn for sweetness — so they hold their shape and taste balanced.
- Sugar (granulated and brown): Sweetens the filling; brown sugar adds a caramel note.
- Cornstarch or flour: The thickener that keeps the filling from being runny. Cornstarch gives a clearer, glossy filling; flour is more forgiving.
- Cinnamon and nutmeg: The warm spices that define apple pie.
- Lemon juice: Brightens the filling and keeps the apples from browning.
- Vanilla: Rounds out the flavor. Standard vanilla extract is alcohol-based (most bakes off, but it’s not alcohol-free as poured); use an alcohol-free vanilla or vanilla bean paste if that matters for your kitchen.
- Butter: For the crust and a pat dotted over the filling. Use a butter (not lard) crust for the best flavor and to keep it pork-free. Cold butter is essential for flakiness.
- Egg (for wash): Gives the crust a glossy, golden finish; a sprinkle of coarse sugar adds sparkle and crunch.
Substitutions & Swaps
- Store-bought crust: Works well when you’re short on time; a butter-based one tastes best.
- Gluten-free: Use a 1:1 gluten-free flour for the crust and thicken with cornstarch.
- Dutch (crumb) top: Skip the top crust for a streusel topping (see Variations).
- Different apples: Any firm baking apple works; avoid soft varieties that turn to mush.
- Less sugar: Reduce by a few tablespoons, especially with sweeter apples.
- Add-ins: A handful of raisins, or a splash of caramel, for extra flavor.
Equipment You’ll Need
- 9-inch pie plate
- Rolling pin
- Large mixing bowls
- Pastry cutter or food processor (for the crust)
- Sharp knife or peeler
- Baking sheet (to catch drips)
How to Make Apple Pie
Step 1 — Make the Crust
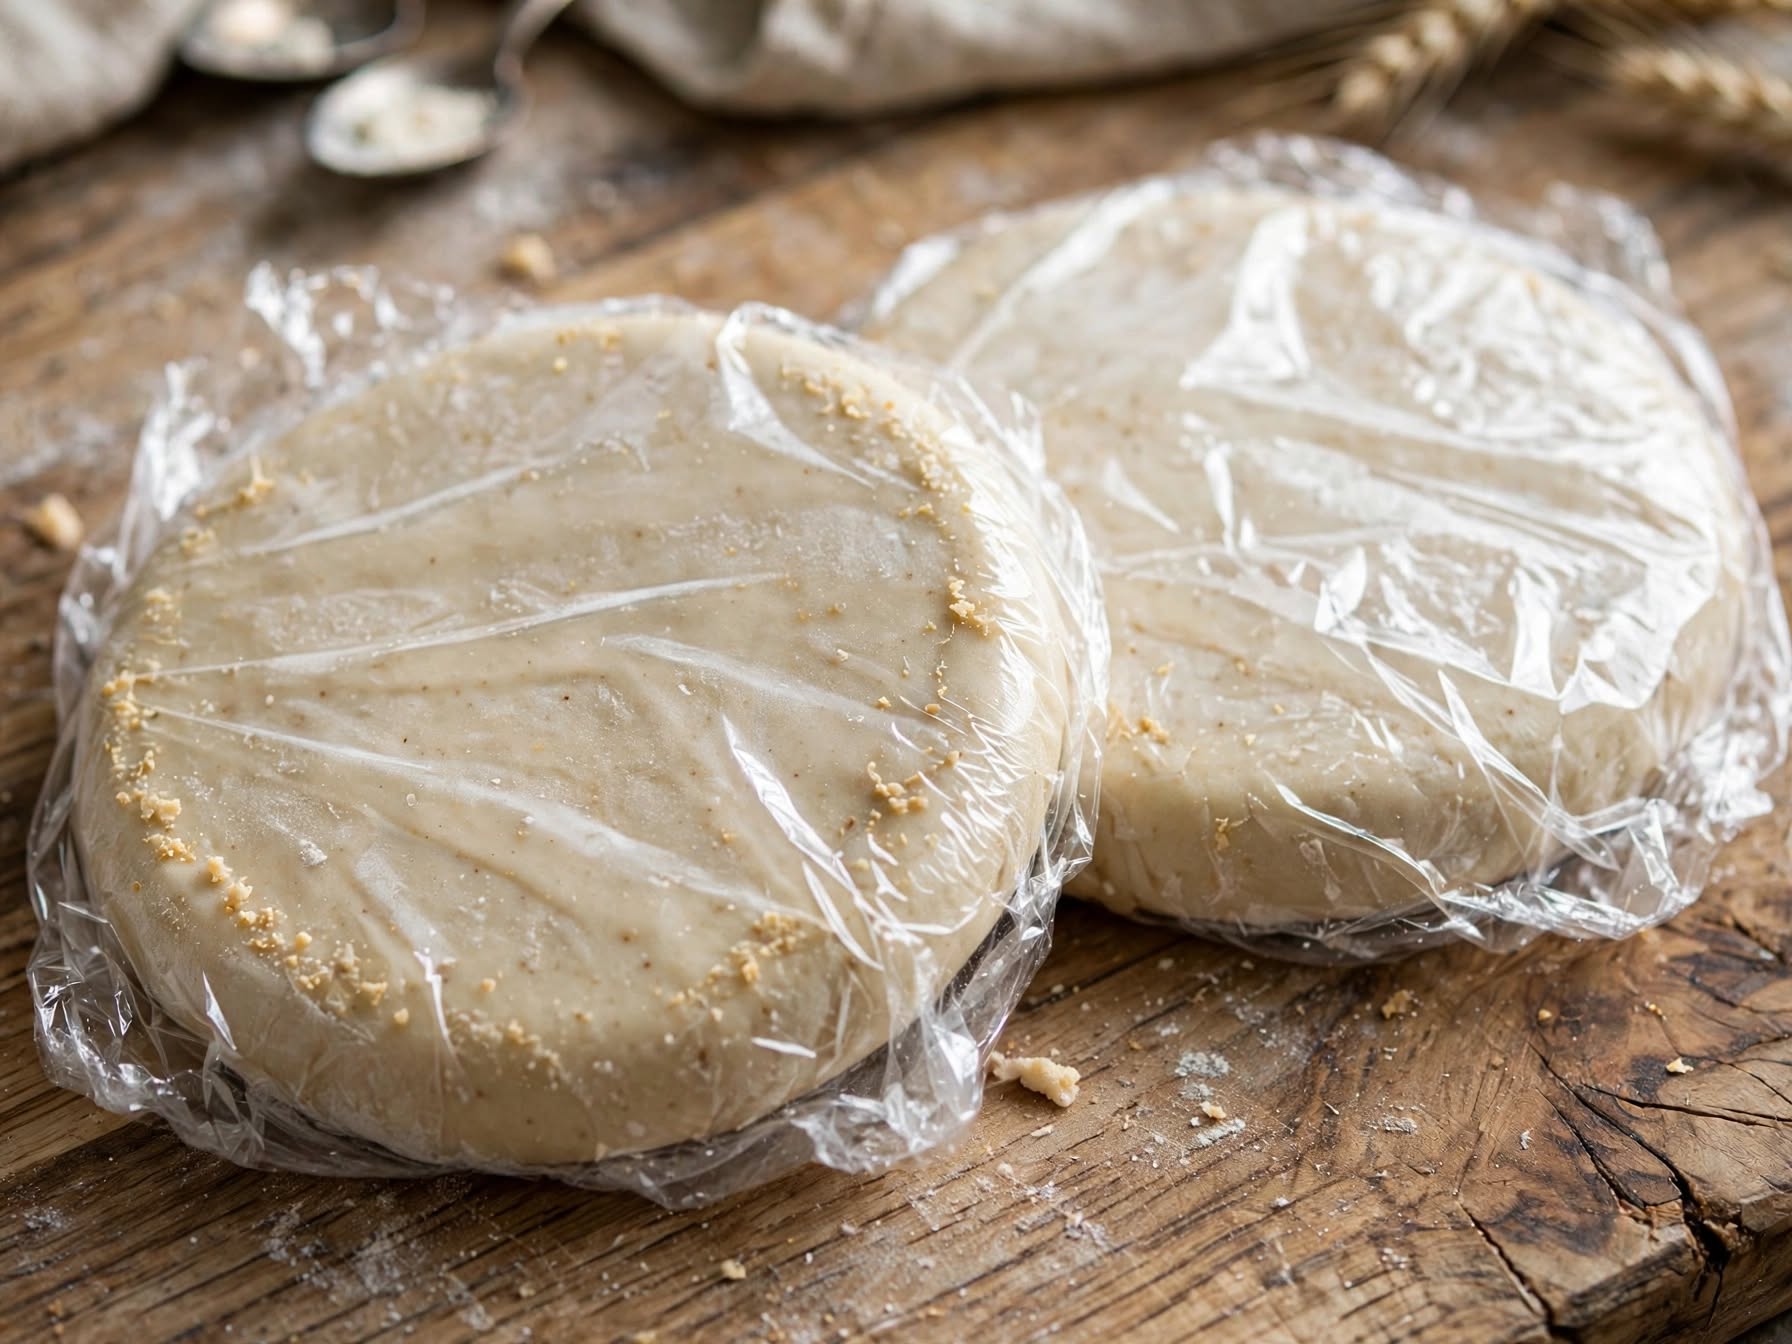
Cut cold butter into the flour, salt, and sugar until the mixture looks like coarse crumbs with pea-sized bits of butter. Add ice water a spoonful at a time until it just holds together. Form two disks, wrap, and chill at least 1 hour — cold dough is the key to a flaky crust.
Step 2 — Prep the Apples
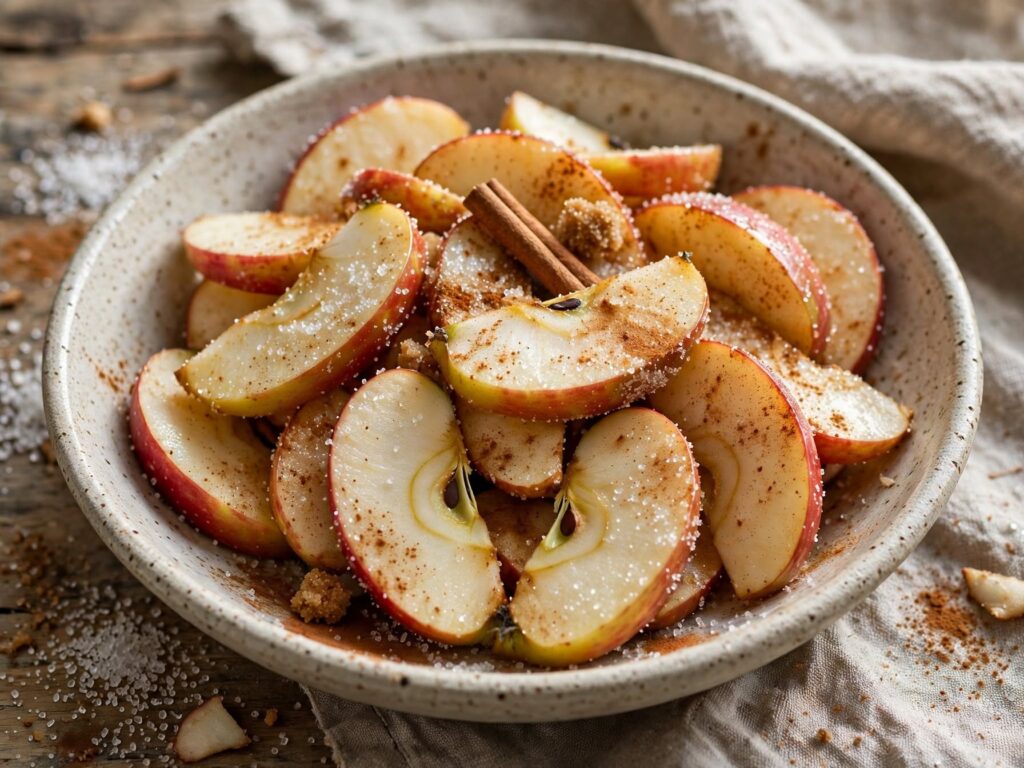
Peel, core, and thinly slice the apples. Toss them with both sugars, cornstarch, cinnamon, nutmeg, lemon juice, vanilla, and a pinch of salt. Let them sit 15–30 minutes so they release some juice and shrink slightly.
Step 3 — Roll the Bottom Crust
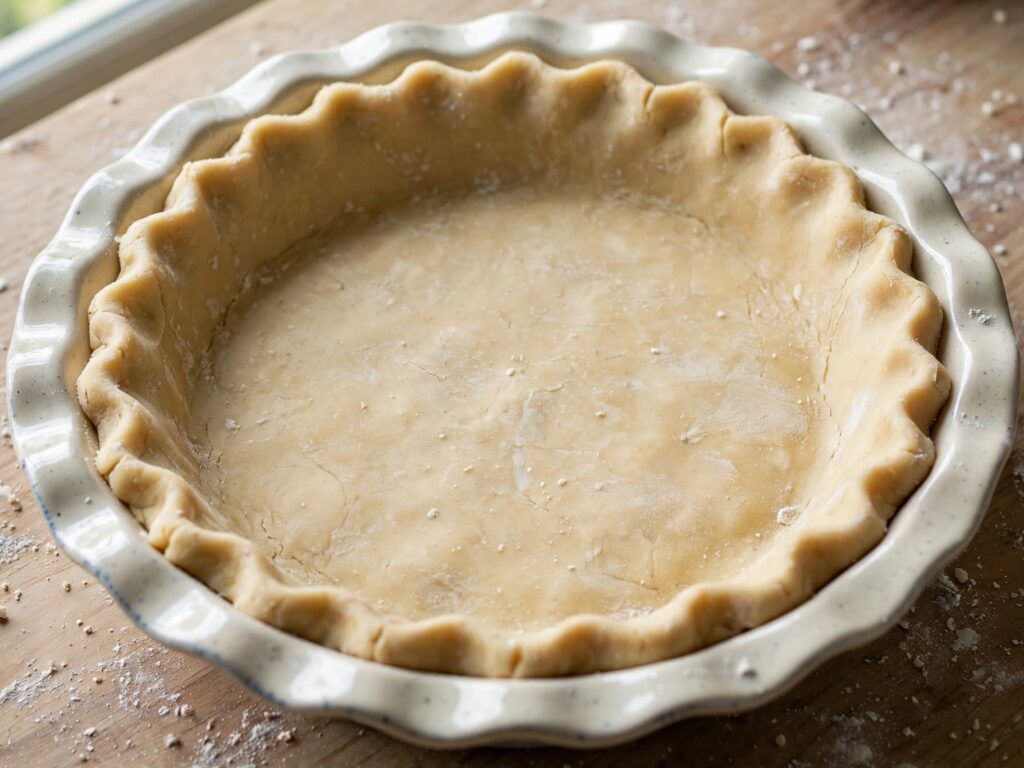
Roll one disk of dough into a circle and fit it into the pie plate, letting the edges overhang. Keep everything cold as you work.
Step 4 — Fill the Pie
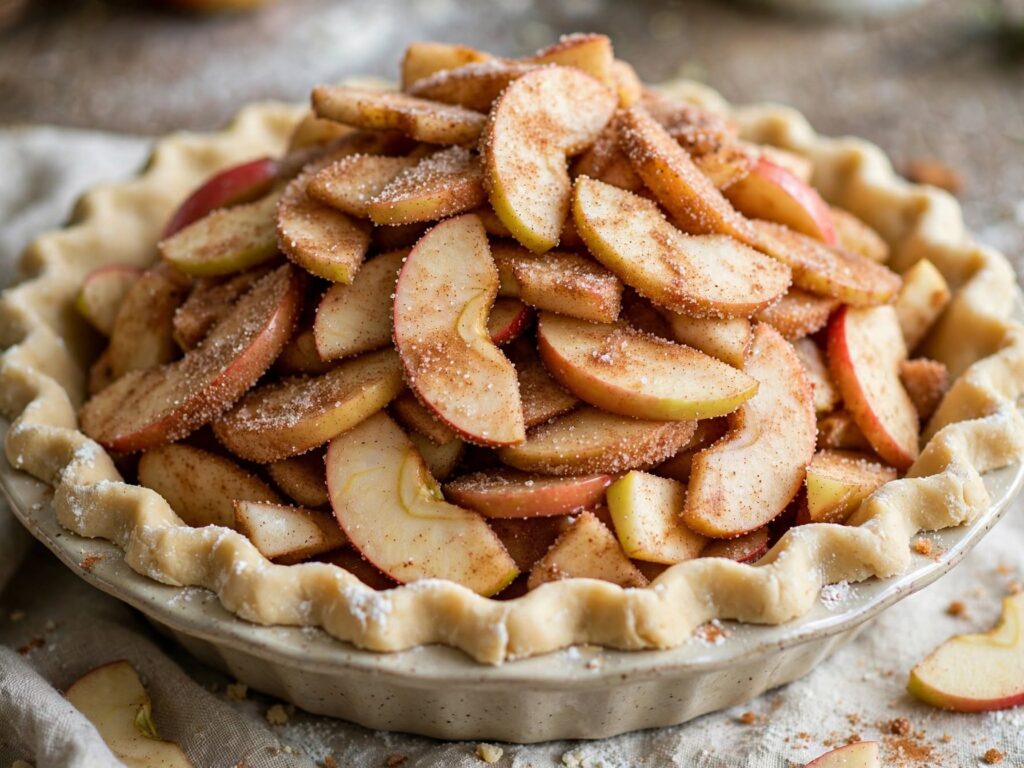
Spoon in the apples, mounding them in the center, and leave most of the released liquid behind so the filling isn’t watery. Dot the top with a little butter.
Step 5 — Top and Seal
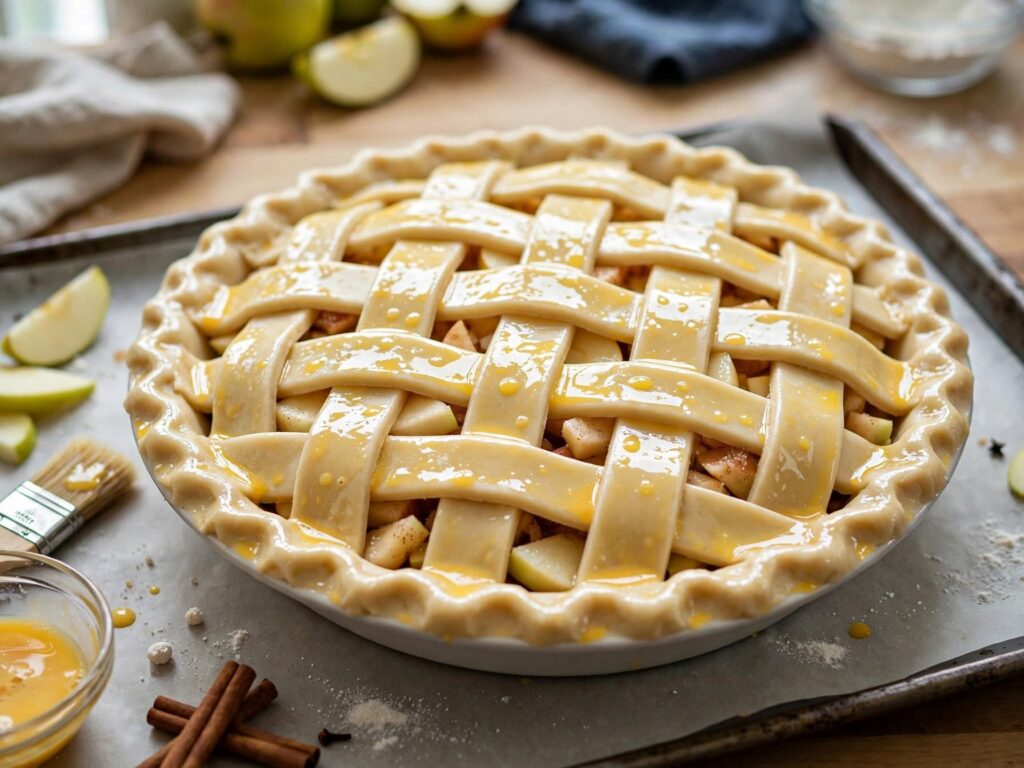
Roll out the second crust and lay it over the apples (or cut it into strips for a lattice). Trim, seal, and crimp the edges, then cut a few vents in the top. Brush with egg wash and sprinkle with coarse sugar.
Step 6 — Bake Hot, Then Lower
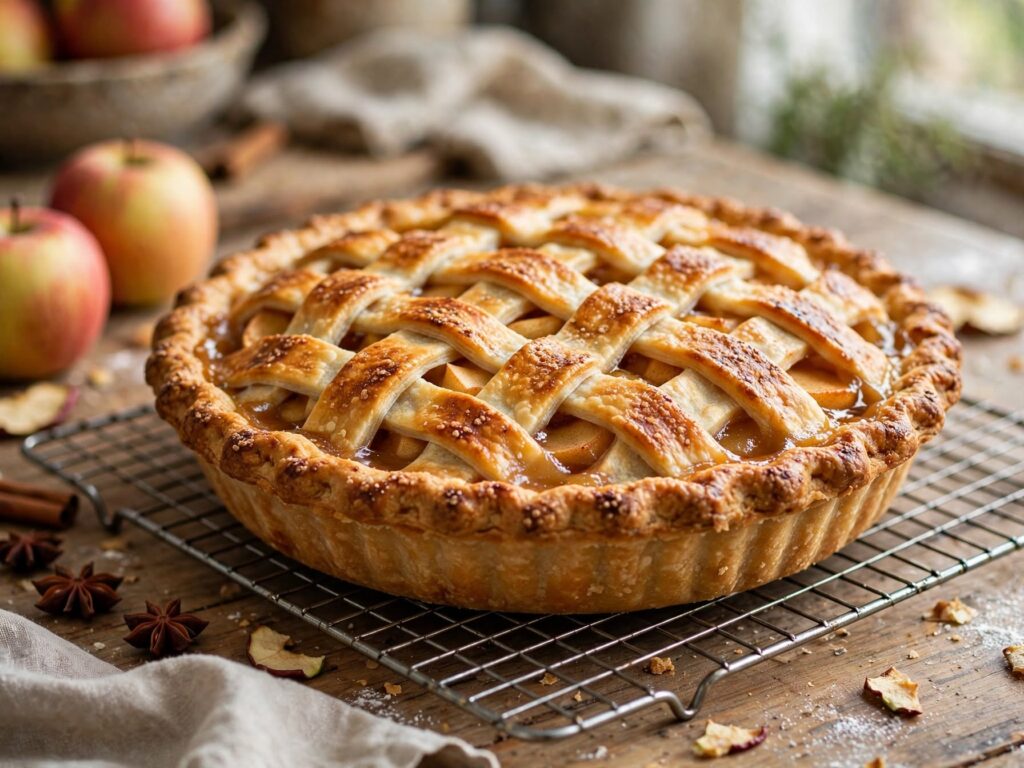
Bake at 425°F for 20 minutes, then reduce to 375°F and bake 35–45 minutes more, until the crust is deep golden and the filling bubbles through the vents. Tent the edges with foil if they brown too fast.
Step 7 — Cool Completely
Let the pie cool completely, at least 3–4 hours, before slicing. This is not optional — cooling is what lets the filling set so it doesn’t run out when you cut it.
How Do You Keep Apple Pie From Being Runny?
You keep apple pie from being runny by using a thickener, draining the macerated apples, and cooling the pie completely before slicing. Apples release a lot of juice as they bake, so cornstarch or flour is needed to bind it into a set filling, and letting the apples sit in the sugar first lets you leave excess liquid behind. Most importantly, the filling only fully sets as the pie cools — cutting it warm is the number one cause of a soupy slice.
Three keys to a filling that sets:
- Use a thickener. Cornstarch or flour binds the juices into a glossy, sliceable filling.
- Macerate and drain. Let the sugared apples release liquid, then leave most of it behind.
- Cool completely. Wait at least 3–4 hours so the filling firms up before you slice.
Expert Tips for the Best Apple Pie
- Keep everything cold. Cold butter and dough make the flakiest crust — chill it well.
- Mix your apples. A blend of tart and sweet, firm varieties gives the best flavor and texture.
- Macerate the apples. Letting them release liquid first prevents both a runny filling and a hollow gap.
- Bake on a hot baking sheet on a lower rack to crisp the bottom crust and catch drips.
- Vent the top. Slits let steam escape so the filling thickens instead of steaming the crust.
- Cool fully before cutting. Patience is what gives you clean, set slices.
The Secret to Apples That Hold Their Shape (No Gap)
The secret is choosing firm apples and pre-shrinking them before baking. Soft apple varieties collapse into mush, while firm ones like Granny Smith and Honeycrisp hold their shape through the oven. Letting the sliced apples macerate in sugar draws out moisture and softens them slightly, so they shrink before baking rather than after — which is what prevents that frustrating hollow gap between the top crust and the fruit.
Piling the apples high helps too. Because they cook down, mounding the filling generously means the baked pie stays full and domed instead of sinking. Firm apples, a good macerate, and a high mound — that’s a pie packed with tender apples that hold their shape, with no air pocket under the crust.
Delicious Variations & Add-Ins
Dutch Apple Pie
Skip the top crust and cover the apples with a buttery cinnamon crumb topping for a sweet, crunchy finish. A single-crust, no-lattice shortcut.
Salted Caramel Apple Pie
Drizzle salted caramel over the apples before adding the top crust, and finish with a sprinkle of flaky salt for a rich, indulgent twist.
Lighter Apple Pie
Make it a single-crust pie, reduce the sugar, and let the naturally sweet apples shine for a lighter version with less pastry.
Gluten-Free Apple Pie
Use a 1:1 gluten-free flour blend for the crust and cornstarch to thicken the filling. The method stays the same.
Mini Apple Hand Pies
Cut the dough into rounds, fill with a spoonful of apples, fold, and crimp into individual hand pies. Great for parties and portioning.
What to Serve With Apple Pie
- Vanilla ice cream — the classic à la mode pairing.
- Whipped cream — light and cool against the warm, spiced filling.
- Caramel sauce — a rich drizzle that plays off the apples.
- A slice of sharp cheddar — the traditional savory-sweet pairing.
- Coffee or chai — warm drinks that complement the spice.
How to Store Apple Pie
Room Temperature
A baked apple pie keeps at room temperature, loosely covered, for up to 2 days. The crust stays crispest this way.
Fridge
Refrigerate for up to 5 days, covered. Warm slices briefly in the oven to re-crisp the crust before serving. Refrigeration is best for longer storage or in warm kitchens.
Freezer
Freeze a baked and cooled pie for up to 4 months, wrapped tightly. You can also freeze it unbaked and bake from frozen, adding extra time. Thaw a baked pie at room temperature and warm in the oven before serving.
Make-Ahead Instructions
Apple pie is great for making ahead. Make the crust disks up to 3 days ahead (or freeze them for months), and assemble the whole unbaked pie a day ahead to bake fresh, or freeze it unbaked and bake straight from frozen with extra time. A fully baked pie also holds well for a day or two, making it ideal for holiday planning.
Troubleshooting Common Problems
Why Is My Bottom Crust Soggy?
The oven wasn’t hot enough at the start or the filling was too wet. Start baking at a high temperature on a preheated baking sheet on a lower rack, use a thickener, and drain the macerated apples so excess juice doesn’t soak the crust.
Why Are My Apples Mushy or Undercooked?
The wrong apples or uneven slices. Use firm baking apples like Granny Smith and Honeycrisp, slice them evenly so they cook at the same rate, and bake until the filling bubbles and a knife slides easily through the apples.
Why Did My Crust Shrink?
The dough was overworked or not chilled enough. Handle it as little as possible, chill it well before and after rolling, and avoid stretching it into the pan — let it relax so it doesn’t pull back as it bakes.
Nutrition Information
Per slice (based on 8 slices — estimate):
- Calories: ~410
- Fat: ~19 g
- Carbohydrates: ~58 g
- Sugar: ~30 g
- Protein: ~4 g
Values are an estimate and will vary with your exact ingredients and crust.
Frequently Asked Questions
What apples are best for apple pie?
A mix of firm, tart, and sweet apples — like Granny Smith with Honeycrisp or Braeburn — gives the best flavor and holds its shape.
How do you keep apple pie from being runny?
Use a thickener like cornstarch or flour, drain the macerated apples, and cool the pie completely before slicing so the filling sets.
Do you have to peel the apples?
Peeling gives the smoothest texture, though you can leave the skins on for a more rustic pie and a little extra fiber.
Should I pre-cook the apples?
You don’t have to, but letting them macerate in sugar first (and draining the liquid) shrinks them and prevents a hollow gap under the crust.
Can I make apple pie ahead of time?
Yes. Make the crust ahead, assemble the pie a day ahead to bake fresh, or freeze it unbaked and bake from frozen.
Why is my bottom crust soggy?
Too much liquid or too low a starting temperature. Bake hot on a preheated sheet on a lower rack, and drain the apples well.
How long does apple pie last?
Up to 2 days at room temperature, 5 days refrigerated, or 4 months frozen.
Do you need to refrigerate apple pie?
Not for the first day or two — a baked fruit pie is fine loosely covered at room temperature, then refrigerate for longer storage.
Can I use store-bought crust?
Yes. A butter-based store-bought crust is a great time-saver, though homemade tastes best.
How do you know when apple pie is done?
The crust should be deep golden and the filling should bubble through the vents; a knife should slide easily through the apples.
More Recipes You’ll Love
- More Cookie Recipes
- More Dessert & Baking Recipes
- More Cake Recipes
- More Casserole Recipes
- More Dessert & Baking Recipes
Apple Pie — Recipe Card
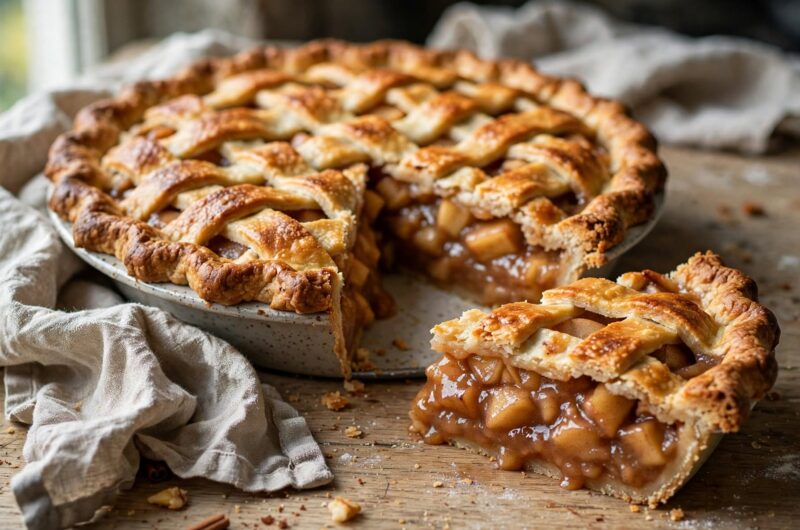
Apple Pie
Classic homemade apple pie with a flaky butter crust and tender, spiced apples in a filling that sets clean — no soupy slices or soggy bottom.
4
servings30
minutes40
minutes300
kcalIngredients
2½ cups (315g) all-purpose flour
1 tsp salt
1 tbsp granulated sugar
1 cup (226g) cold butter, cubed
6–8 tbsp ice water
2.5–3 lbs apples (Granny Smith and Honeycrisp), peeled and thinly sliced
½ cup (100g) granulated sugar
¼ cup (50g) packed brown sugar
2 tbsp cornstarch (or 3 tbsp flour)
1 tsp ground cinnamon
¼ tsp ground nutmeg
1 tbsp lemon juice
1 tsp vanilla extract (alcohol-free if preferred)
Pinch of salt
1 tbsp butter, for dotting
1 egg, beaten (egg wash)
1 tbsp coarse sugar
Directions
- Cut cold butter into the flour, salt, and sugar until crumbly. Add ice water until it just holds, form 2 disks, wrap, and chill at least 1 hour.
- Toss the sliced apples with both sugars, cornstarch, cinnamon, nutmeg, lemon juice, vanilla, and salt. Let sit 15–30 minutes.
- Roll one disk and fit it into a 9-inch pie plate.
- Add the apples, mounding them and leaving most of the released liquid behind. Dot with butter.
- Roll the second crust, lay it over (or lattice), seal and crimp, and cut vents. Brush with egg wash and sprinkle with coarse sugar.
- Bake at 425°F (220°C) for 20 minutes, then reduce to 375°F (190°C) and bake 35–45 minutes more, until golden and bubbling. Tent edges if browning too fast.
- Cool completely, at least 3–4 hours, before slicing.
Notes
- Use a butter crust (not lard) and firm apples for the best result.
- Drain the macerated apples and cool the pie fully so it isn’t runny.
- Freeze the crust disks or the whole unbaked pie to make ahead.